|
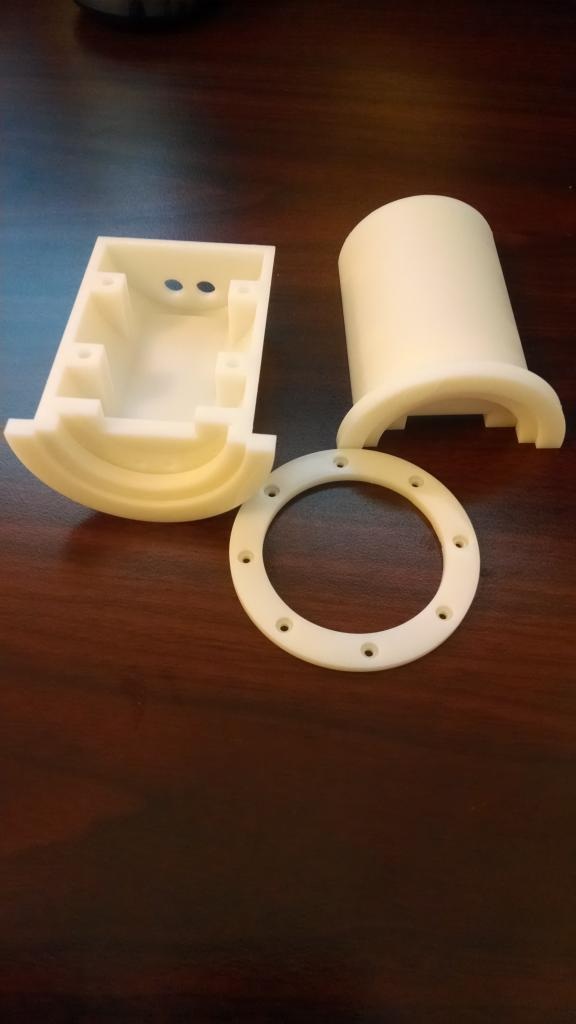
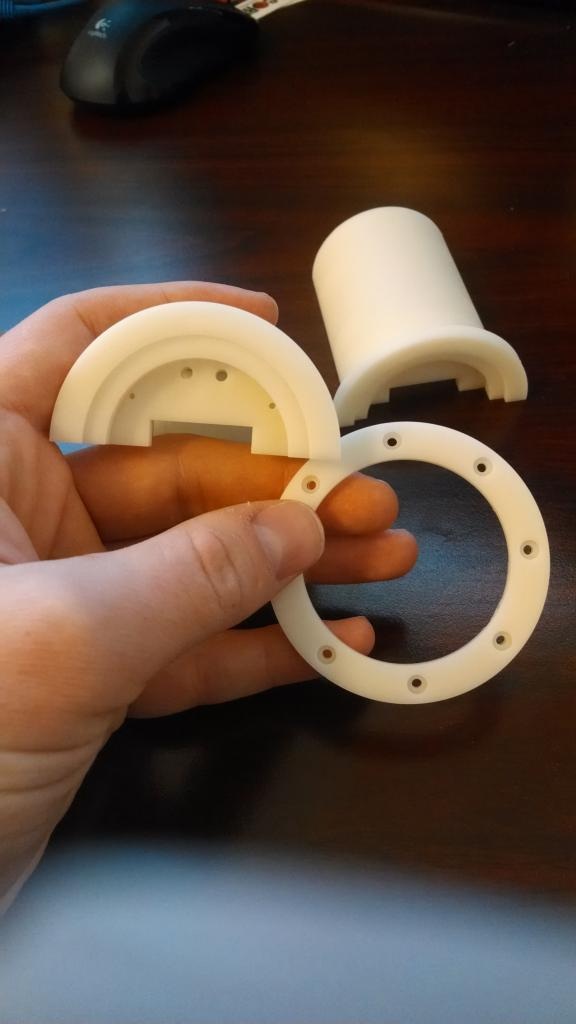
The first prototype has been 3D printed! Just one more step forward. THANK YOU; to everyone for your interest (and patience) as I continue to develop the gauges. Also a special thanks to all the people, professionals, and students that have reached out to share ideas, comment, help, and express interest in my project. I'm trying to get as much done as I can simultaneously, but for those interested, here are the next steps:
1. Test fit all internal components 2. Test construction and assembly 3. Test fitment in Gauge pod and different 52mm holders 4. Design revisions and production of 2nd prototype (Objet, .002” res.) 5. Source all mechanical fasteners, acrylic diffuser for LEDs 6. Design and purchase prototype gauge face (laser-etched, anodized Aluminum) 7. Complete V2 Code (I'm already 50% there) 8. Complete the bench-RPM generator code (70% completed) 9. Full assembly and fitment of gauge 10. Production begins (I'll be doing a small, pilot run first before ramping up). 11. R&D various gauges, source all components through storefront, and Code in forums (Boost/Vac., AFR, Temp, Battery, OBD, etc) 12. R&D gauge configurations (will have 52mm model as seen below and a stick-model like the prototype)
0 Comments
Leave a Reply. |
AuthorJon @ Chippernut Archives
July 2024
CategoriesThis website uses marketing and tracking technologies. Opting out of this will opt you out of all cookies, except for those needed to run the website. Note that some products may not work as well without tracking cookies. Opt Out of Cookies |


 RSS Feed